You only need to configure this if you are hosting ManicTime Server yourself. This does not apply if you are using ManicTime Cloud.
The first thing you will need to do is go to Google developer console and register an app.
Create project
Now you need to create a new project. If you did not do this before, you will see on the right side the CREATE PROJECT button.
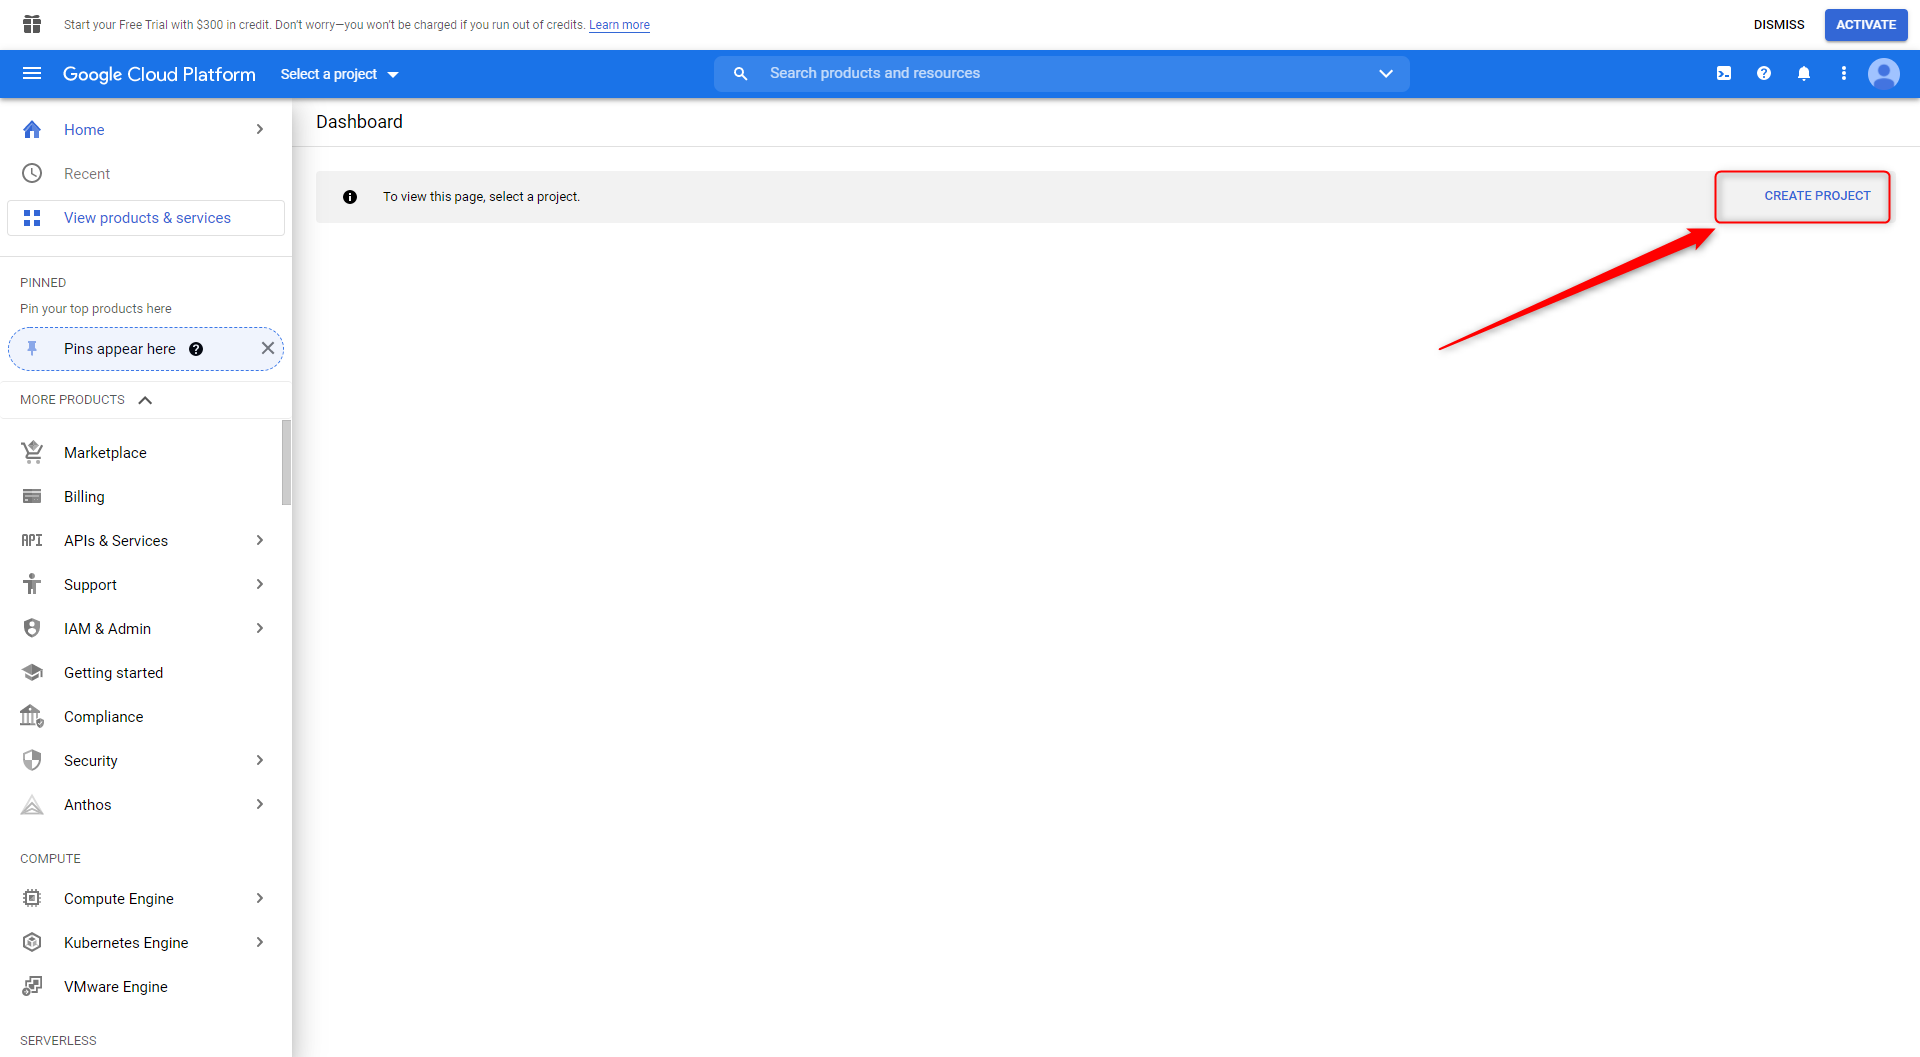 |
| Google developer platform dashboard |
Then you just enter whatever you want for the project name and click CREATE. And leave the Location field to the default value.
 |
| Create project |
Newly created project should open automatically after a couple of seconds. On the left side menu select APIs & Services and click Credentials.
 |
| Go to Credentials screen |
Then on the top click + CREATE CREDENTIALS and select OAuth Client ID
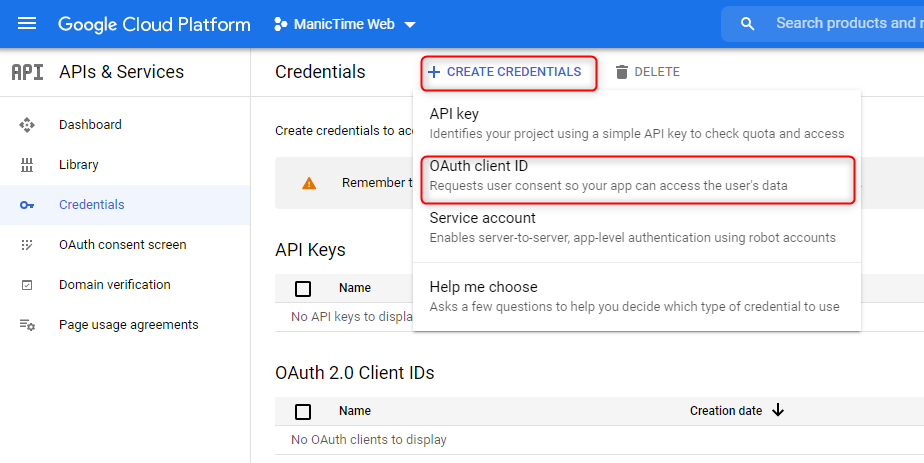 |
| Select OAauth client ID |
Configure consent screen
After that, Google will want you to configure a consent screen. So on the left side click CONFIGURE CONSENT SCREEN. The next thing to do, is to select target users. As this "app" will only be used by your organization you can select Internal for the User type. If the account with which you are creating the app does not belong to any organization the only option for the User Type will be External. And because this will be used only by you and a couple of your trusted people, the choice here functionally does not matter.
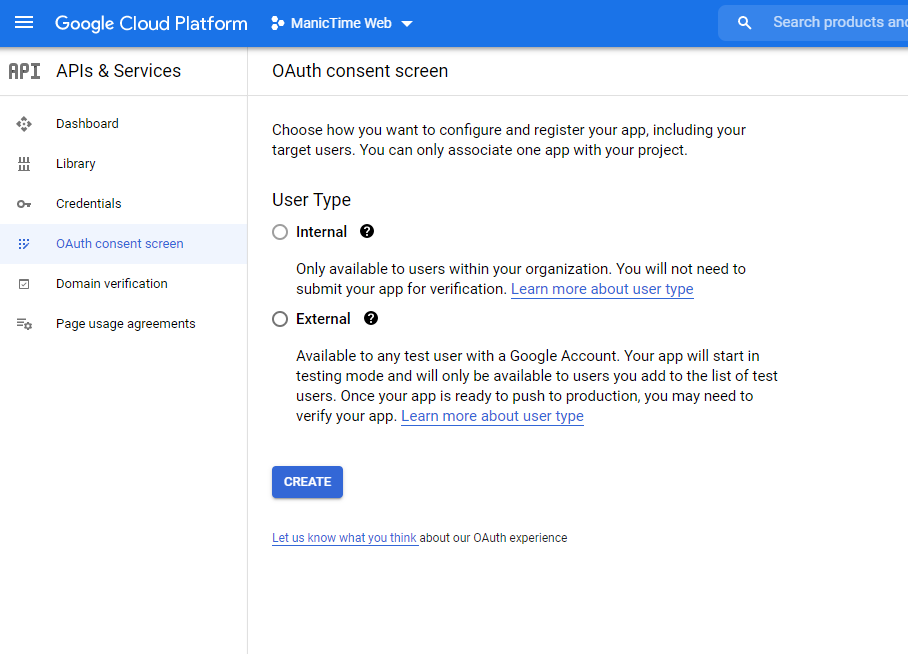 |
| Select User Type |
After that you will need to input some of the App information. You only need to enter App name, User support mail and Developer contact information. All these fields are only necessary, so you can go to the next step and again are not functionally important. Maybe only the Developer contact information email should be valid, so Google can notify you about any changes to your project.
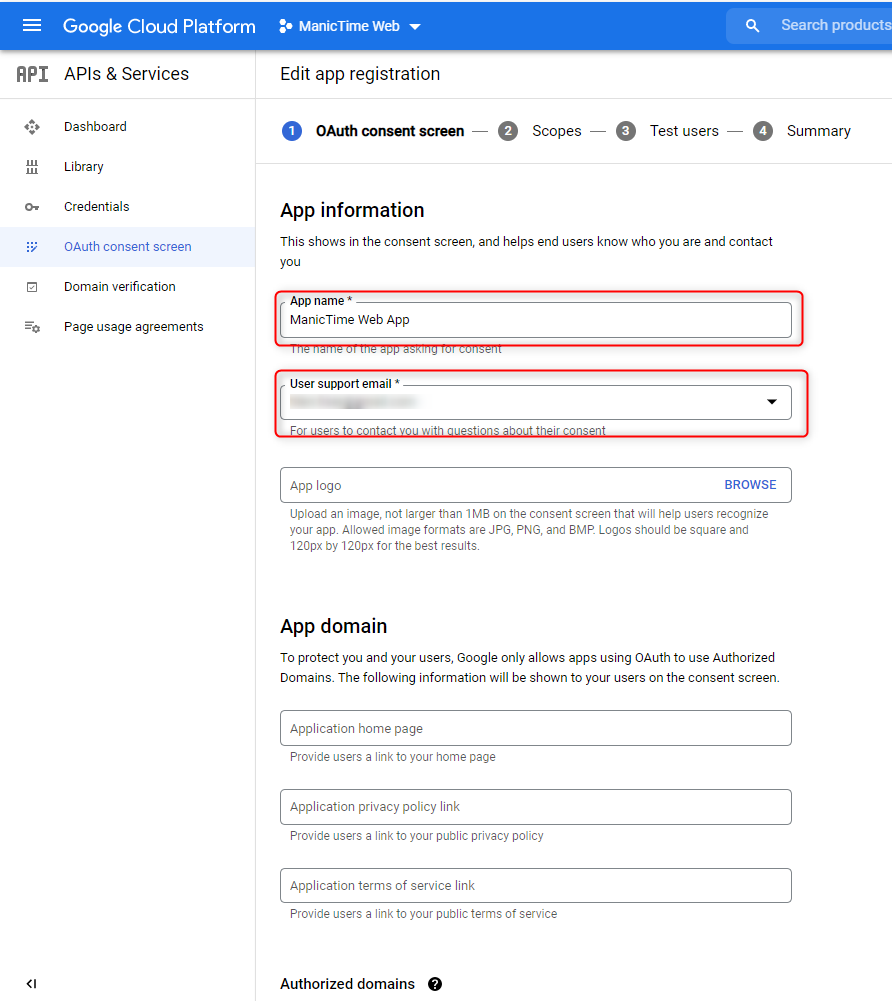 |
| Fill app info |
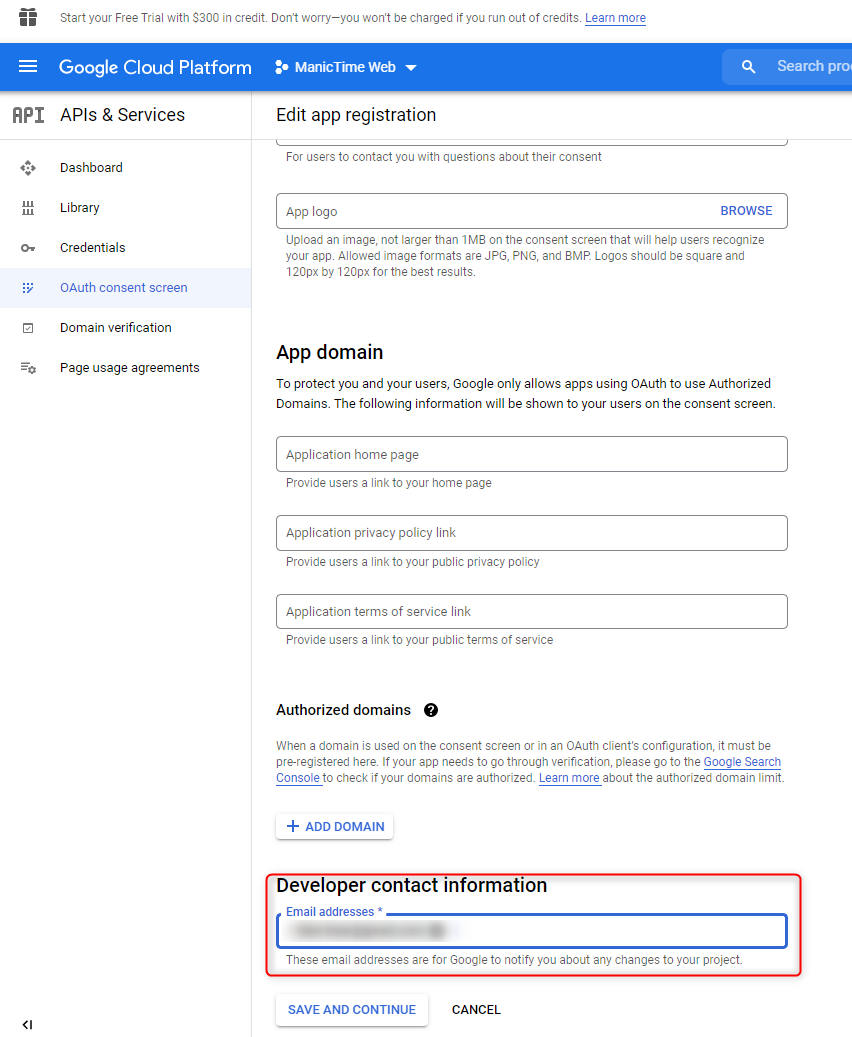 |
| Fill app info |
Then you will see the Scopes screen which does not need any configuration, so you can just skip it and click SAVE AND CONTINUE After this you will need to add user emails of all users that will be using Google Calendar Connection on ManicTime Server. You will also need to add your email to the list. Just note that the number of max users is 100. Then again, just click SAVE AND CONTINUE which will take you to the OAuth consent screen summary.
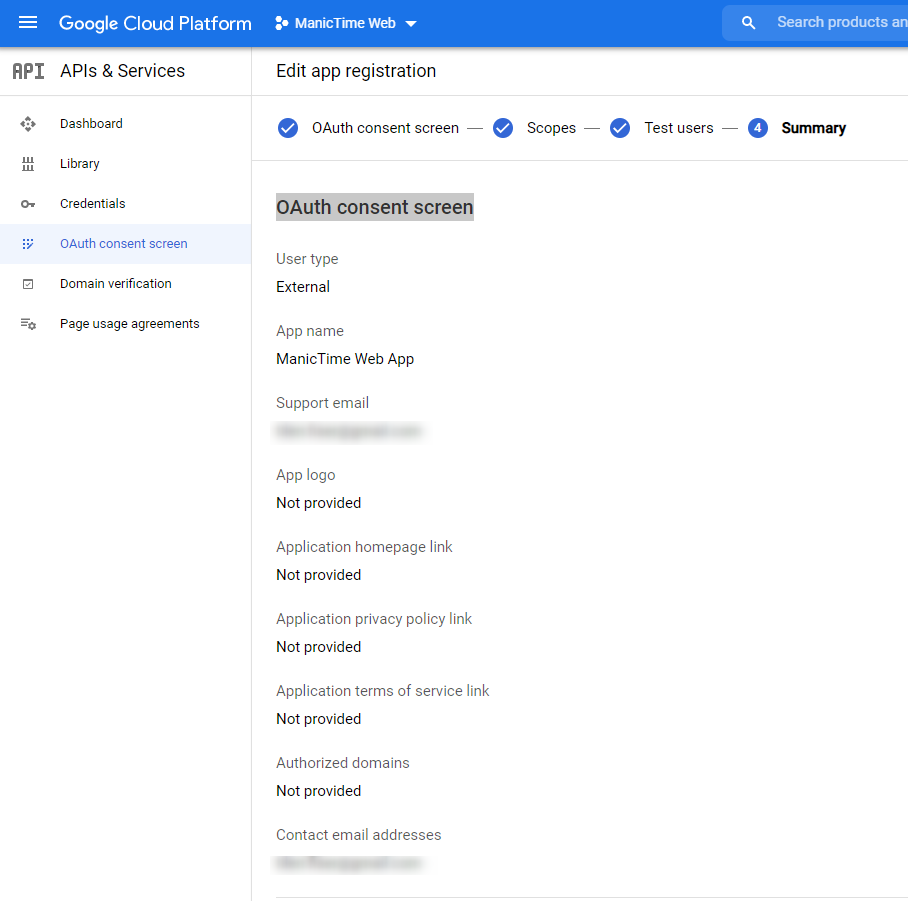 |
| Consent screen summary |
Create OAuth client ID
After that you will need again go to Credentials, then on top click + CREATE CREDENTIALS and select OAuth Client ID
|
| Select OAauth client ID |
The next step is to set Web application for the Application Type
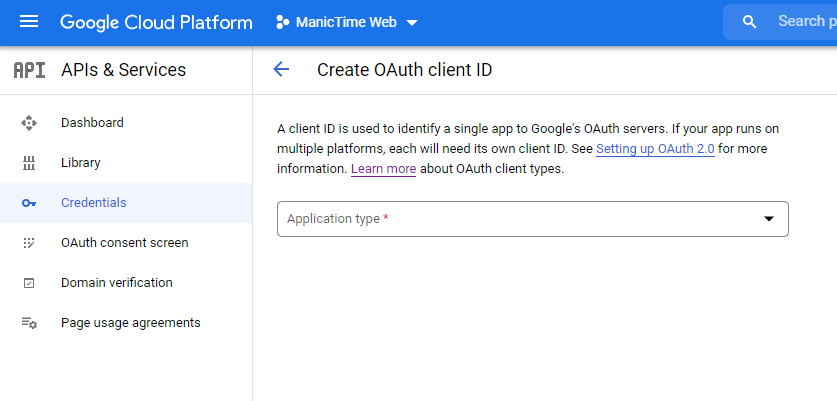 |
| Select application type |
After this step you must set up a custom application name. For the Authorized redirect URIs field, you must go back to ManicTime server to Administration and under Google calendar configuration you will have possible Redirect Uris. Copy one of them to the Google Developer Console. Normally the first is correct, otherwise one of the other specified should work (You will be able to test the configuration, which we cover later in the article).
 |
| Possible redirect Uris on the ManicTime Server Google Connection Configuration screen |
 |
| Copy redirect uri from ManicTime Server Google Connection Configuration screen |
After that Google will generate Client Id and Secret, which you will need to copy to ManicTime Server Google Connection Configuration screen.
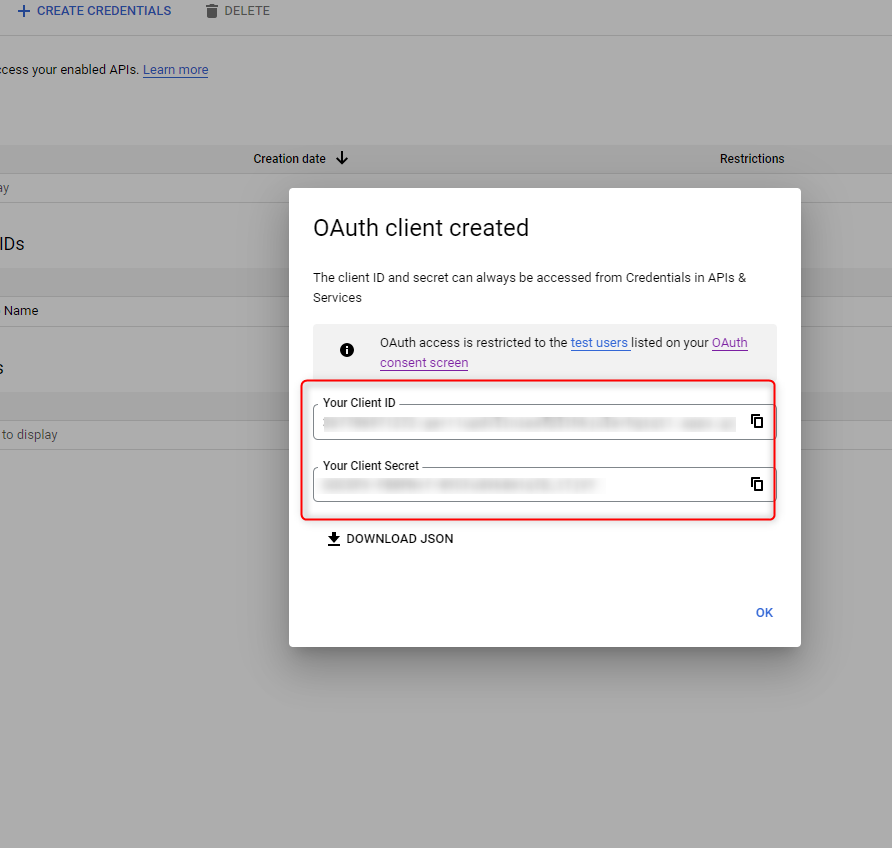 |
| Google generated client Id and Secret |
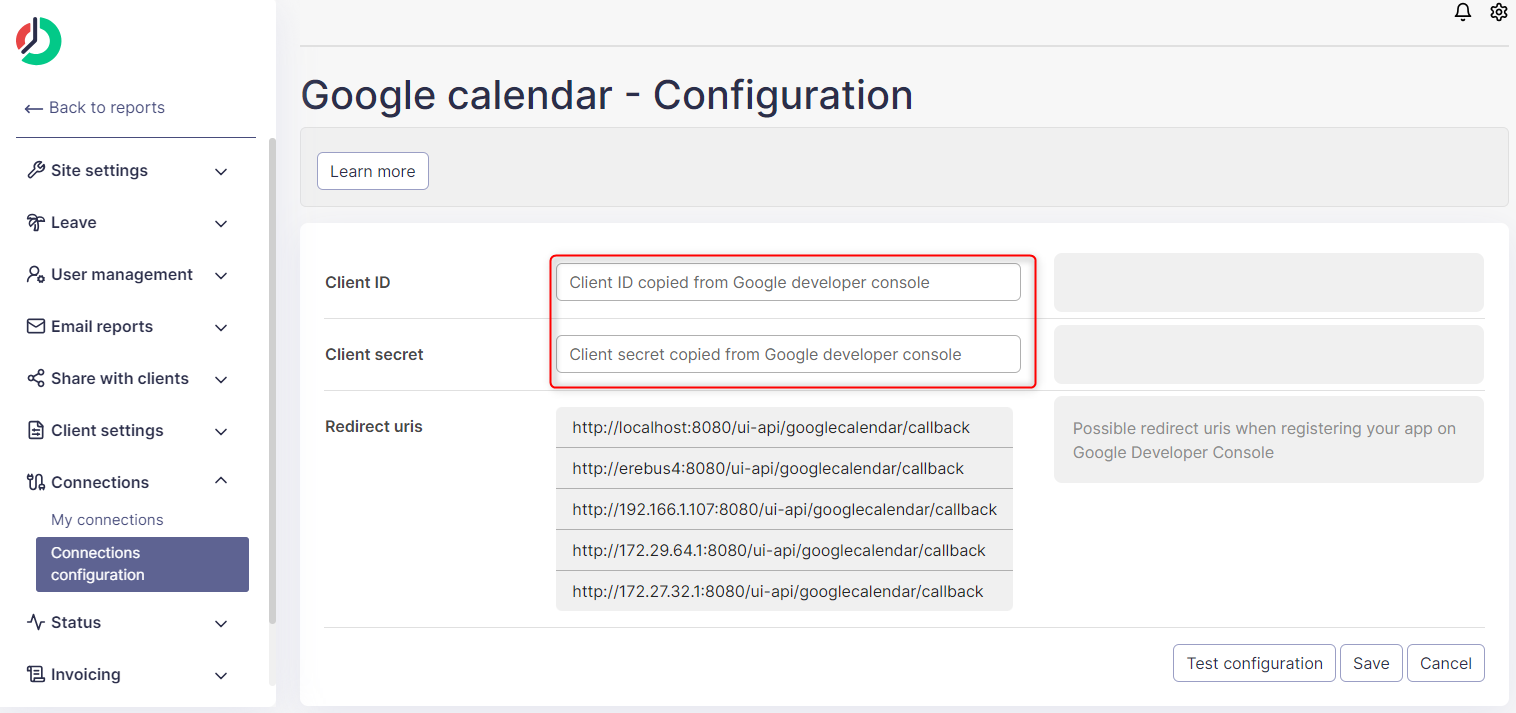 |
| Copy Client Id and Secret to ManicTime Server Google Connection Configuration screen |
Now the authorization with Google will work, but to use the Google Calendar you will need to enable access to Google Calendar API. To do this you go to the Library and find Google Calendar API on the list or you can search for it.
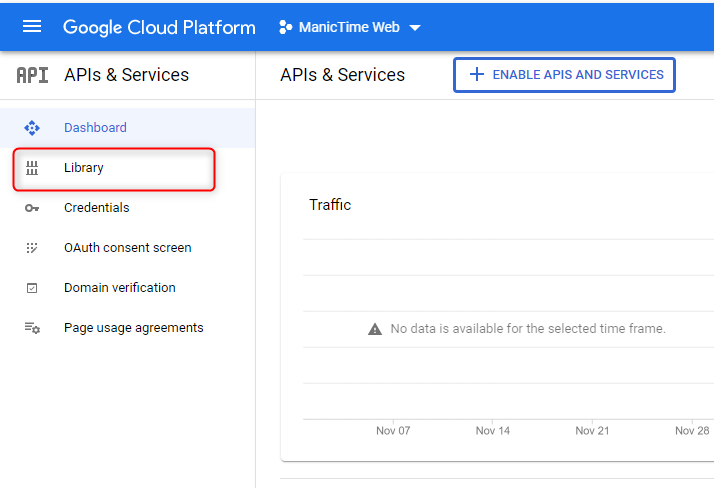 |
| Select library |
 |
| Select Google Calendar API |
Enable Google Calendar API
And now all you need to do is click ENABLE and should work in a couple of minutes.
 |
| Enable Google Calendar API |
That is it. Now you only need to save the configuration, or you can click Test connection to see if the connection is set properly and then save it.
If you click test connection, you will go through the authentication process, like all users who will try to connect to Google Calendar.
Test Connection
Firstly you will see a screen, where you need to authenticate.
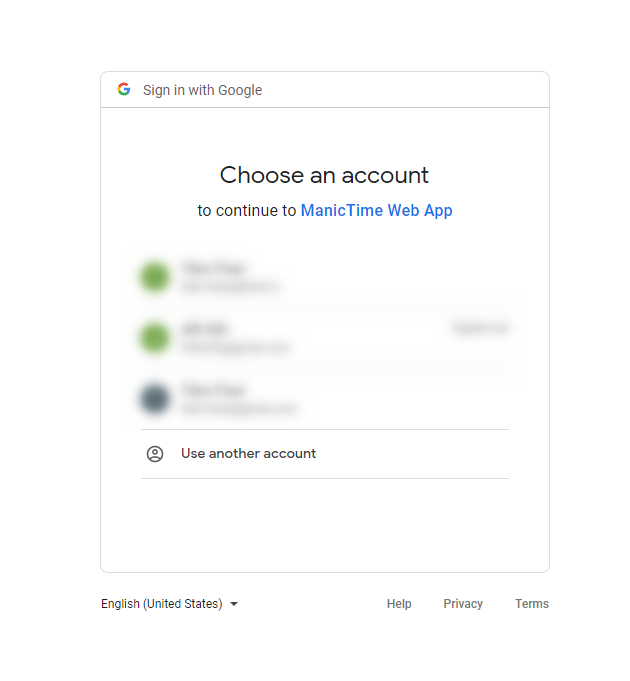 |
| Enter your account email and password |
Then you will see a screen that says that the app is not verified. But no worries, just click continue, because you created the app, and we are certain that you trust yourself.
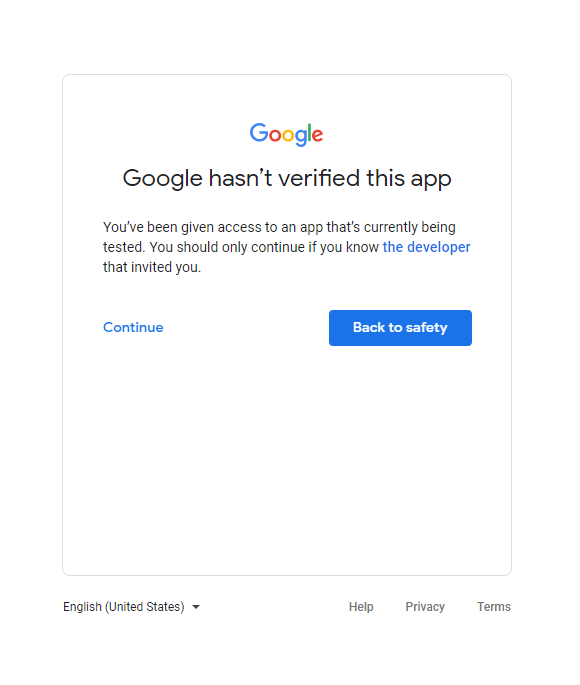 |
| Not verified screen |
On the next screen you just confirm that you allow access to your account.
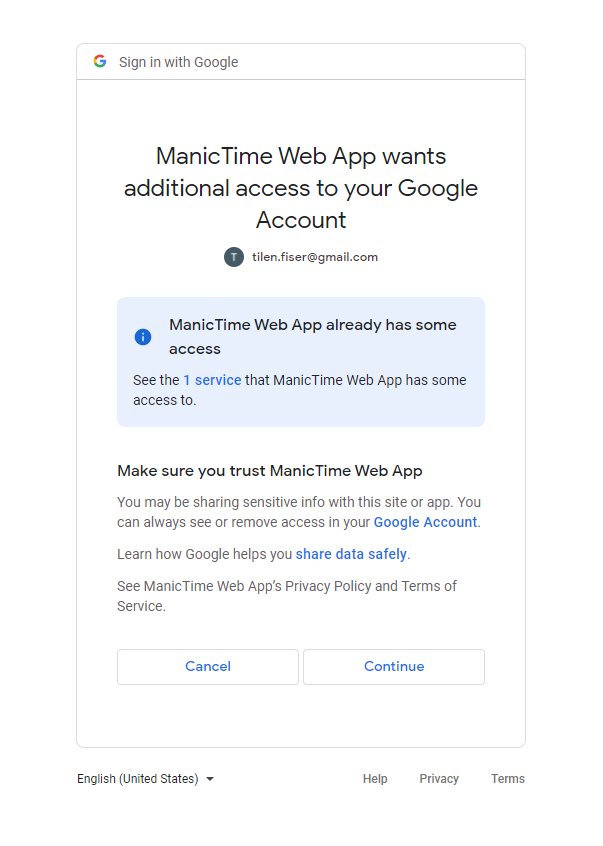 |
Hopefully that the next screen you will see will be green which means that everything is working as it should, otherwise you can contact ManicTime Support and we will be happy to help you.
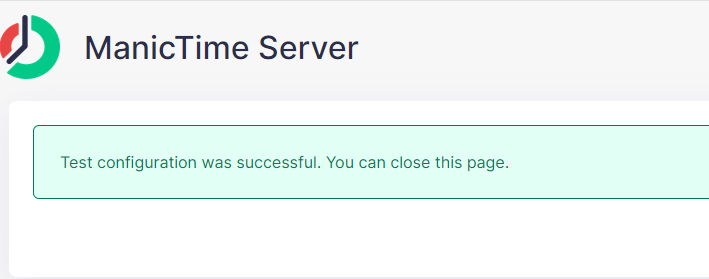 |
| Success screen |
Deleting or editing configuration
You can change Client Id or Secret in Connections configuration next to Google calendar click edit. Any changes to Client Id or Secret will delete existing connections for all users.
If you delete the configuration all users data will be also deleted.