Web source connection shows your data from custom web source on its own timeline. Your web service needs to return the data in a specific format, which ManicTime knows how to read (more on format below).
Only the user making a connection can see the data.
Setting up Web source
If you go to Administration -> My connections just click the Connect button on the right side.
If you do not see Web source there, please contact ManicTime Support and we will be happy to help you.
When you click connect, you will be taken to a screen, where you have settings for timeline Title and Url. Only Url is required. You can check if the url is correct or if data is coming to ManicTime with Test Connection button. After you are done click Save, and you will be taken back to the My connections screen. And that is all. You can always change settings, if you go to Administration -> My connections and click Edit Setting next to Web source.
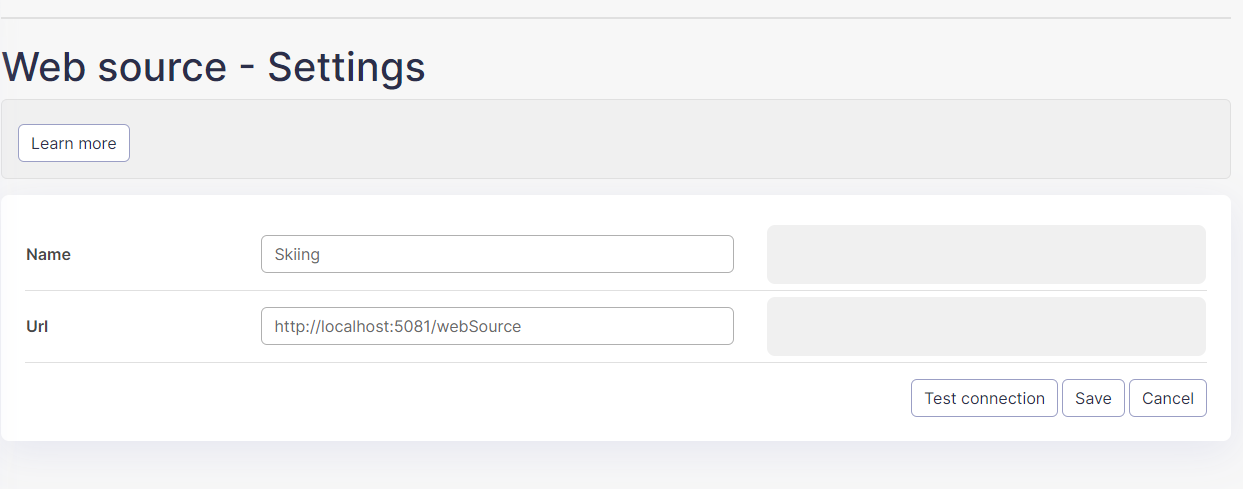 |
| Web source settings |
You can now see your Web source events on its own timeline. Just click the "timeline" after the connection is set and it will take you directly to Web source timeline. Or go back to reports and go to Tag time or the Timelines tab.
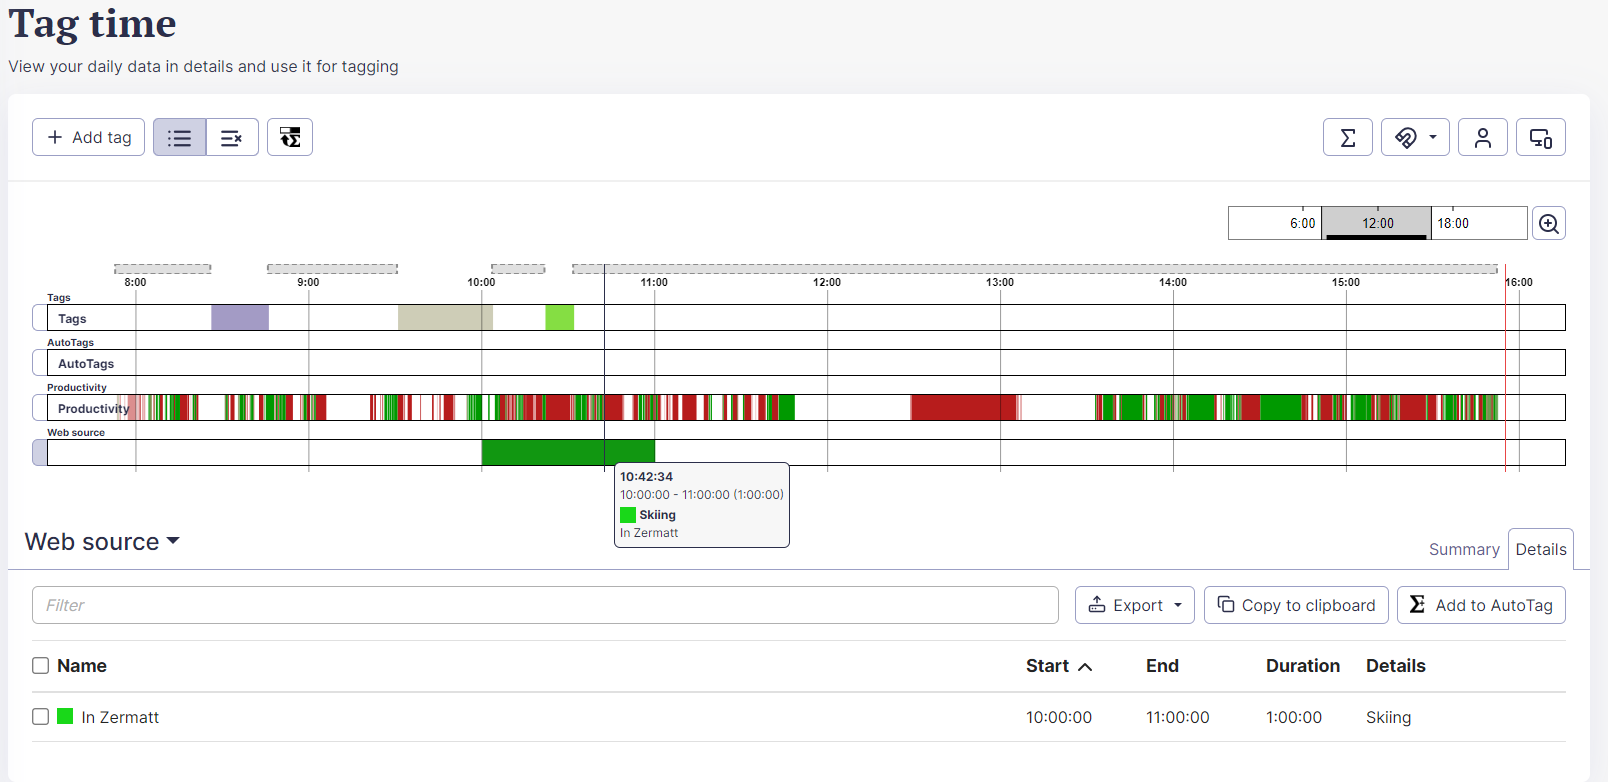 |
| Data from Web source displayed on ManicTime Server |
Deleting Web source
To delete Web source connection go to Administration -> "My connections" and click Remove next to Web source. Another way to delete the connection is on the Administration -> "Connected devices" tab.
How ManicTime communicates with the service
When you register a connection you need to provide an URL of your service. URL will be called every time the day changes or when Refresh is triggered. For example, lets say sample service URL is:
https://www.sampleurl.com/sampleData/CustomTimeline
Every time this service is called, ManicTime will append start and end parameters. For example:
https://www.sampleurl.com/sampleData/CustomTimeline?FromTime=2023-03-10T00:00:00&ToTime=2023-03-11T00:00:00
Your service should use these parameters to return only results which match time limitation.
What service returns
Service should return an Json response. Most of the elements are optional, so at the very least service only needs to return start and end times:
{
  "activities": [
    {
      "startTime": "2023-03-10T12:00:00+01:00",
      "endTime": "2023-03-10T13:00:00+01:00"
    },
    {
      "startTime": "2023-03-10T14:00:00+01:00",
      "endTime": "2023-03-10T15:00:00+01:00"
    }
  ]
}
Use this link in ManicTime:
https://sampletimeline.manictime.com/server/time-only
To add a title and a default color with which they are presented:
{
  "color":"1010FF",
  "activities": [
    {
      "name": "First activity",
      "startTime": "2023-03-10T12:00:00+01:00",
      "endTime": "2023-03-10T13:00:00+01:00"
    },
    {
      "name": "Second activity",
      "startTime": "2023-03-10T14:00:00+01:00",
      "endTime": "2023-03-10T15:00:00+01:00"
    }
  ]
}
Example
Use this link in ManicTime:
https://sampletimeline.manictime.com/server/times-and-title
Default timelines in ManicTime have activities which belong to groups. On day view you can see activities and groups on bottom side and. For example, Google is a group, individual page you visited is an activity. You can also add groups to the Json response. So a response with groups and activities would look like:
{
  "color":"1010FF",
  "activities": [
    {
      "groupId": "2",
      "name": "Visit to Google home page",
      "startTime": "2023-03-10T12:00:00+01:00",
      "endTime": "2023-03-10T13:00:00+01:00"
    },
    {
      "groupId": "1",
      "name": "Visit to Bing home page",
      "startTime": "2023-03-10T14:00:00+01:00",
      "endTime": "2023-03-10T15:00:00+01:00"
    }
  ],
   "groups": [
    {
      "id": "1",
      "name": "Bing",
      "color" : "FF1010"
    },
    {
      "id": "2",
      "name": "Google"
    }
   ]
}
Example
Use this link in ManicTime:
https://sampletimeline.manictime.com/server/activities-and-groups